Who new trim is right for, and where it is money poorly spent
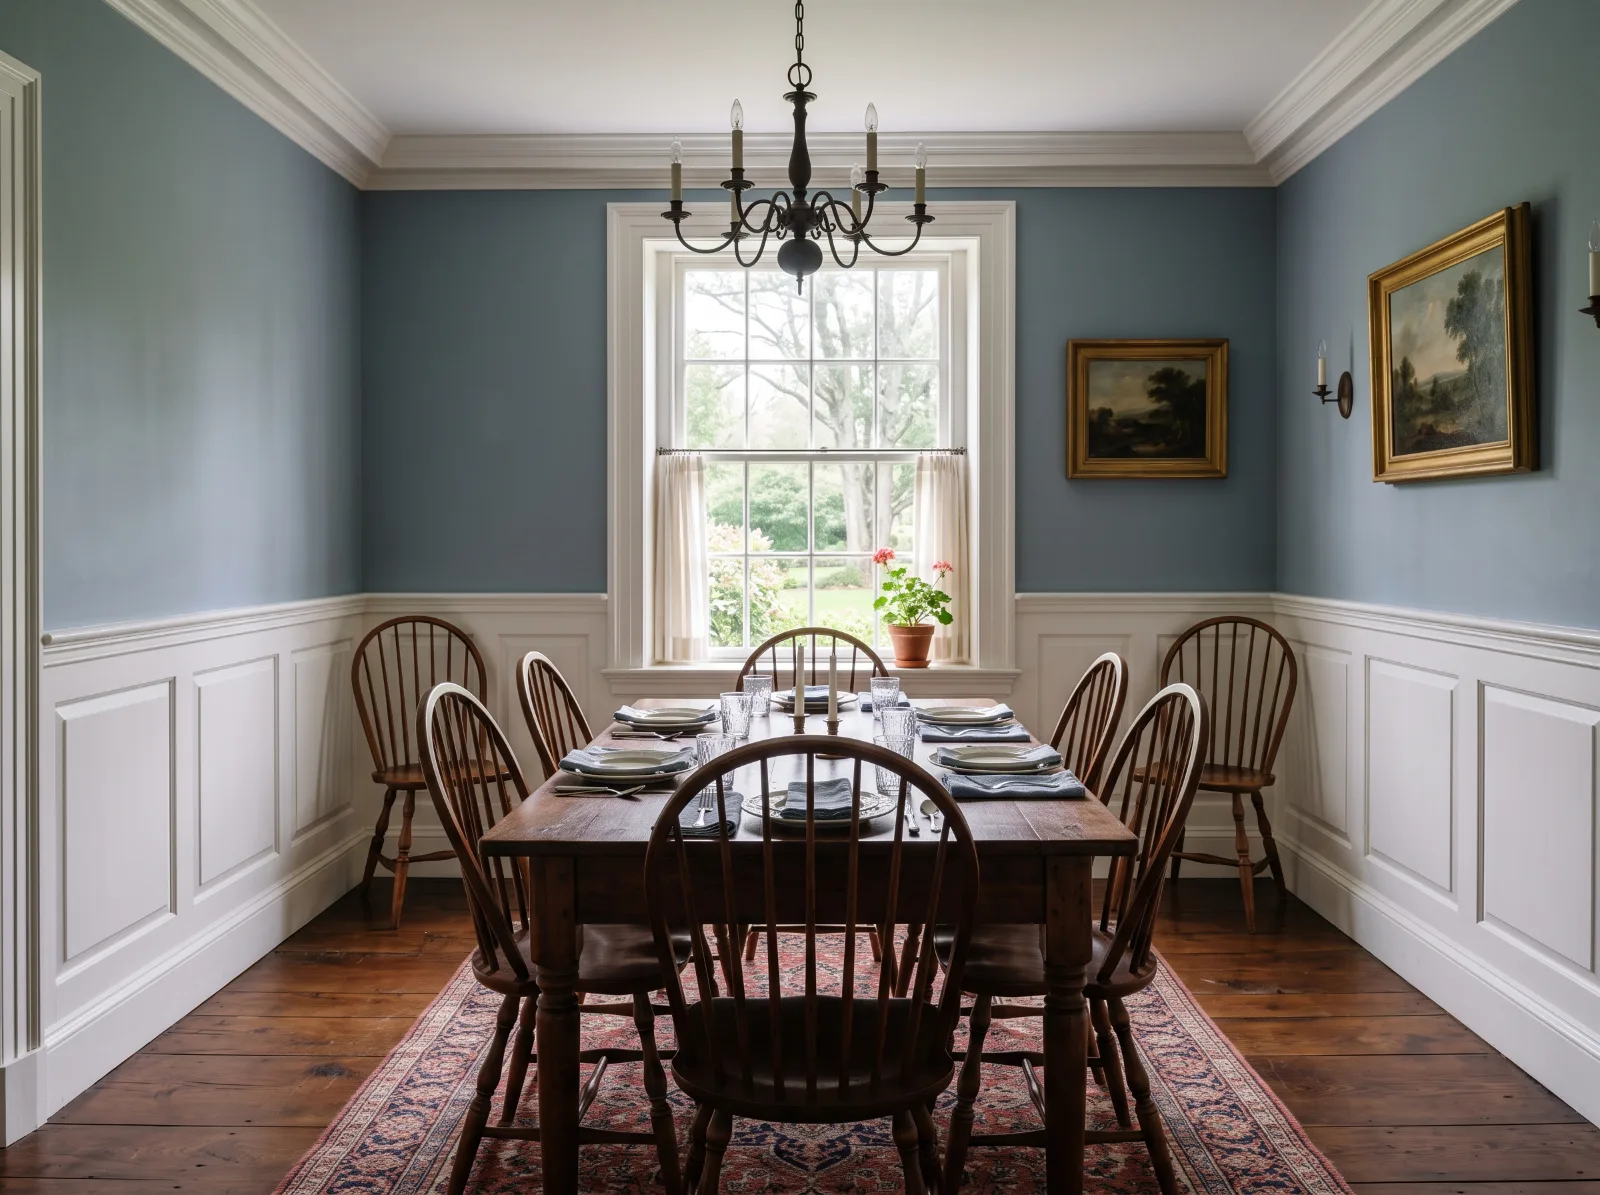
Trim is what makes a room look finished. A plain 1990s colonial with clamshell base and thin casing changes more from wider baseboard, a proper head casing and a simple crown than from almost any other single upgrade at the same price. Wainscoting adds a layer that protects walls in high-traffic rooms and gives a flat room some depth.
Where it is money poorly spent:
- Low ceilings with heavy crown. In a cape or a basement with a 7-foot ceiling, a big crown makes the room feel shorter. A small cove or no crown at all may be better.
- Walls that need repair first. Trim does not hide cracked plaster or water stains for long. Fix the wall, then trim it.
- Rooms that are about to be remodeled. If the kitchen or bath is coming apart in two years, trim it then.
Our main carpentry page lists all the finish work we take on. This page focuses on the choices that make trim look right and stay tight.
What trim and wainscoting cost in Central MA
These are typical Central Massachusetts ranges, not quotes. Your written estimate itemises scope, materials, painting and exclusions.
| Typical scope | Typical range |
|---|---|
| Crown molding, paint-grade, installed | $9–$20 per linear ft |
| Crown in one 12×14 ft room (about 52 ft) | $600–$1,300 |
| Baseboard, remove old and install new, paint-grade | $6–$14 per linear ft |
| Door or window casing, one opening, both sides for doors | $150–$350 per opening |
| Flat-panel or board-and-batten wainscoting | $12–$25 per sq ft of wall |
| Raised-panel or applied-molding wainscoting | $18–$40 per sq ft of wall |
| Beadboard wainscoting with cap and base | $12–$22 per sq ft of wall |
Stain-grade oak or cherry, multi-piece built-up crown, tall ceilings that need staging, and plaster walls that need extra fastening all push toward the top of those ranges. Painting may or may not be included; ask.
Coping, mitering and why corners open
The single biggest difference between trim that looks tight in year five and trim that doesn’t is how the inside corners are cut.
- Mitered inside corners are two 45-degree cuts meeting in the corner. They look fine the day they go up. When the house dries out in winter, the pieces shrink and a dark gap opens along the joint.
- Coped inside corners run one piece square into the corner, and the second piece is cut to the exact profile of the first so it laps over it. As wood moves, the joint stays closed.
- Outside corners are mitered, glued and pinned so they move as one piece.
- Long runs are joined with scarf joints (angled splices), glued, so a seam doesn’t open up mid-wall.
Crown adds one more wrinkle: it sits at an angle between wall and ceiling, and the ceiling in an older house is rarely flat. We snap a line, shim where the ceiling dips, and caulk the top edge only where the gap is small.
What the job involves, step by step
- Walk the room. We check ceiling height, wall flatness, corners and how existing trim meets windows and doors. In pre-1978 homes, old painted trim may contain lead. Removing it is paint-disturbing work under EPA lead-safe rules; ask any contractor for their lead-safe certification in writing before it starts.
- Pick profiles and sizes. We hold samples on the wall. Proportion matters: baseboard, casing and crown should look like they belong together.
- Acclimate the material. Wood trim sits in the heated or air-conditioned house for a few days before it is cut.
- Remove old trim and prep. Careful removal saves the plaster. Loose plaster gets secured before new trim goes over it.
- Install. Base first, then casing, then crown and wainscoting. On plaster and lath, we find the framing and use longer fasteners and construction adhesive where needed.
- Fill, caulk and prime. Nail holes filled, joints sanded, caulk only where trim meets wall.
- Paint and clean up. Semi-gloss or satin enamel on trim is the usual choice. See interior painting for sheen and product options.
Timeline: crown or base in a single room is often a day or two. A full first floor of new base, casing and crown is typically one to three weeks including paint.
Older homes: plaster, wide pine and farmhouse profiles
Trim work in Central Massachusetts runs from 18th-century farmhouses in Bolton and Harvard to mill-era homes in Clinton to postwar capes in Worcester. Each asks for something different.
- Plaster walls wave. Baseboard is scribed to the floor and pulled to the wall where it dips; small gaps are caulked, big ones are shimmed or the plaster is repaired.
- Floors slope. Base in an old colonial may be taller at one end of the room than the other once it is scribed level at the top. That is normal and looks right.
- Period profiles. Greek Revival and Federal homes often have wide flat casings with a back band; Victorian-era homes in Clinton and Worcester have more ornate profiles and corner blocks. Keeping the style consistent throughout matters more than exact profile matching in every room.
- Wainscoting over plaster. Board-and-batten and beadboard need solid backing. On plaster we locate studs and add blocking when needed rather than trusting lath.
Our building restoration work covers deeper repairs on older homes when trim is only part of the story.
How to choose materials and styles
- MDF: smooth, stable, cheap, paints well. Keep it away from water.
- Poplar: the standard paint-grade hardwood; takes knocks and holds nails well.
- Finger-jointed pine: economical, straight, good for painted base and casing.
- PVC trim: for bathrooms, mudrooms and basements where water is a risk.
- Oak, cherry, maple: stain-grade; costs more and shows every joint.
- Wainscoting styles: flat panel or Shaker for most homes; raised panel for formal dining rooms; beadboard for farmhouses, baths and mudrooms; board-and-batten for a simpler, newer look.
If you are pairing new trim with a built-in, see built-ins and mudrooms. New doors usually come with new casing; see interior doors and closets.
What to ask any trim contractor
- Will inside corners on crown and base be coped?
- What material is each piece, and where will you avoid MDF?
- How will you handle my wavy walls and sloped floors?
- Is priming and painting included, and with what product?
- In a pre-1978 home, who removes the old trim, and can I see their lead-safe certification in writing?
- What does the written estimate include and exclude?
Start with a walk-through
We can come out, look at the rooms, hold up profile samples and give you a written estimate for the scope. The consultation is free.
Common questions
Should crown molding be coped or mitered at inside corners?
Coped. Very few room corners are exactly 90 degrees, and a mitered inside corner opens up as the house moves through the seasons. A coped joint, where one piece is cut to the profile of the other, stays tight much longer. Outside corners are mitered.
Is MDF trim good enough?
For painted crown, casing and panels in dry rooms, yes. It is smooth, stable and cheaper. It does not like water, so we avoid it for baseboard in bathrooms, mudrooms and basements, where poplar, pine or PVC trim holds up better.
How tall should wainscoting be?
A common rule is about a third of the wall height, which lands at 32 to 36 inches on an 8-foot ceiling. Taller paneling, up to 5 or 6 feet, works in mudrooms, stair halls and rooms with high ceilings. We mock up heights on the wall before we build.
Can you match the original trim in an old house?
Often, yes. Common profiles are still available, and a local mill can run knives to copy an old profile when nothing off the shelf is close. Matching takes a sample piece and some lead time, so plan for it early.
Why do trim joints crack in winter?
Wood shrinks as the heating season dries out the house. Some hairline movement at painted joints is normal in New England. Good joinery, glued and pinned miters, and trim installed at normal living temperature and humidity keep it to a minimum.